Twenty years ago, I was doing a lot of photography with Nikon cameras and was spending a lot of time in the dark room.
Then I got married, had kids etc. Around 2000, I moved to digital and got an Olympus E-10, an SLR (it used a semi transparent mirror so it could take a picture while the view finder was still usable.) then went back to nikon cameras, this time digital, first DX, then FX.
Because of the lack of time and darkroom, I gave up black and white photography and my equipment sat quietly in a box in the basement. I gave my film camera (Nikon F70) to a cousin and kept my other older cameras: Nikon FA and FG and abunch of older lenses. I had a few rolls of film that I forgot to put in the fridge or freezer that are now 20 years old (I read somewhere that i should expose 1 stop extra for every 10 years), some chemicals that are probably not very effective anymore either and some 25 years old paper that is probably also going to be very slow now.
At the end of last year I found that I could get an F4 on ebay for fairly cheap (around $130) and over Christmas I shot 3 films.
Let me tell you how it went, what I used, the results and what I am going to do next.
Getting ready
So, I had most of the equipment but I needed some film and chemicals.
Film: I got a 100 ft roll of HP5+. it’s Ilford film rated at 400 that I have used a lot in the past. Nothing fancy but I could compare to past results. I also got 10 empty cassettes ( $1.25 each). I could have just purchased 36 exposure rolls but i though if I am serious about it, I will save money soon going this way. A 36 exposure roll is about $7, 100 ft was $75 and I should be able to do a lot more than 10 rolls and also, it allows me to make shorter rolls if I want. I also had to get a black bag to roll the films ($12 amazon). I did not bother with a daylight loader.
Chemistry: I had some old chemicals leftover: almost a gallon of fixer but it felt gritty, a bottle of ilfosol S and some old tetanal developer as well as a box of emofin, a 2 stage powder developer. I had a bottle of kodak stop bath; i think i got this one on craigslist about 20 years ago. I assumed it does not go bad.
I wanted to start fresh so I got a pint of ilfosol 3 (film developer $10) and some rapid fixer (liquid concentrate. 1 liter $10), a couple of empty liter size bottles ($4 each). I got it from BH as amazon or ebay shipping costs were horrendous for these chemicals.
Other equipment: I already had a 300 ml graduate, a film squeegee, a thermometer and a developing tank.
Rolling the films
I started by rolling a few films. I bought new cassettes as I was not sure the 20 year old felt would still be light tight. I used to roll film in a dark room; rolling them in a black bag is very possible but it was a little cramped and difficult to measure. I taped the film to the spool and rolled until I thought i had a reasonable length. It ended up being about 22 frames on the first roll. I am not packing it a little more.
Exposing the film
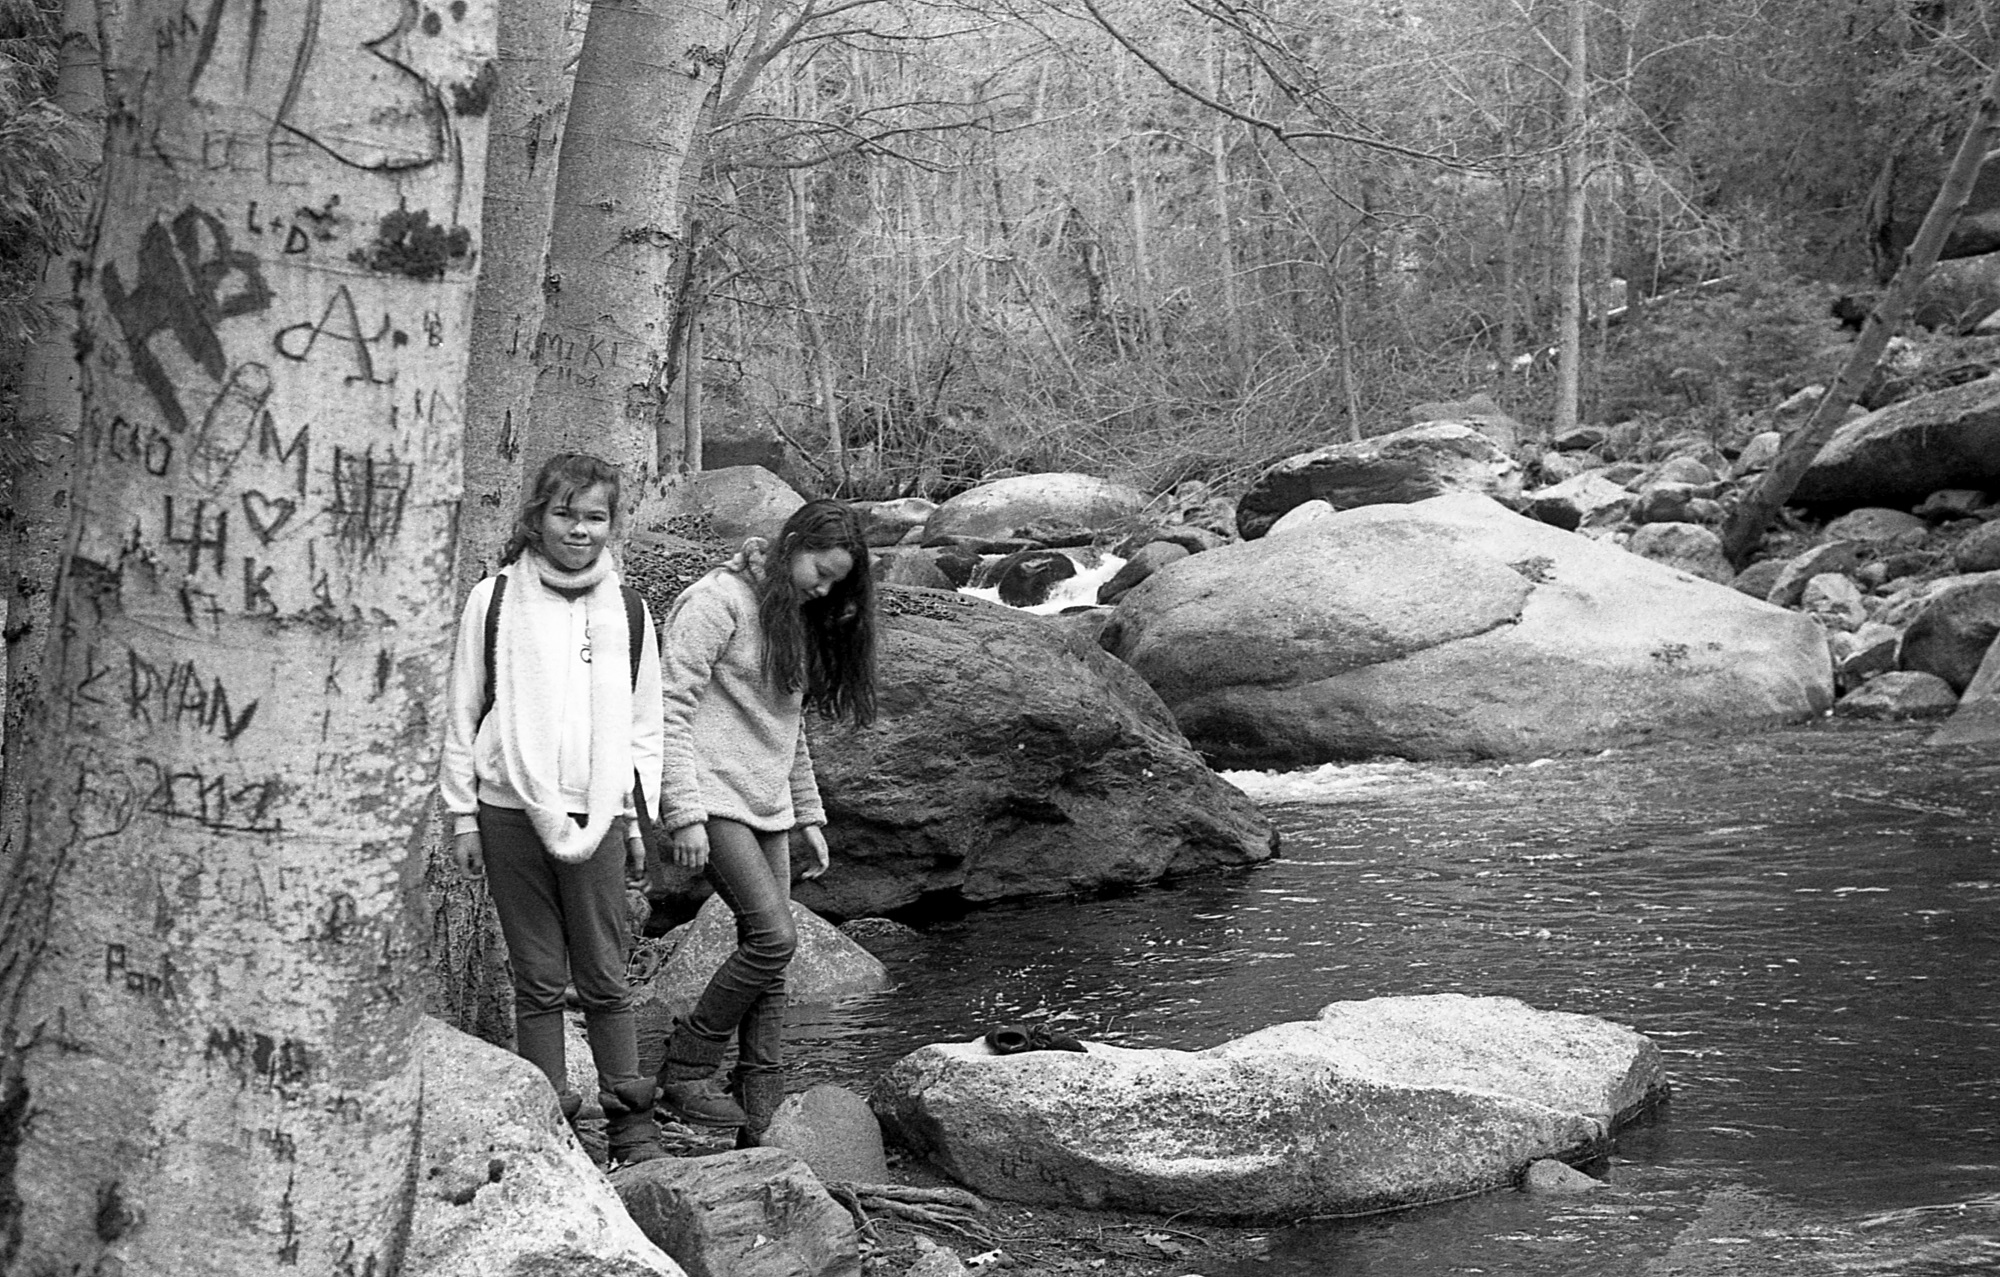
I loaded the F4 and the FA with some HP5+ and shot family and landscape in the sequoia national forest over christmas. For some reason my Yongnuo flash was not recognized by the camera. Shooting at 400 (without Auto-sensitivty) takes some getting used to. I used a 50 mm f/1.4 and a 28-70 f/2.8 lenses. I had not taped the first film enough and in the FA, i wound it too hard, so I had to take the film out from the camera in the black bag.
Development
Back home I processed the films.
I found the technical notes for the dev and fix on ilford’s website.
In the black bag, I cut the end of the film, loaded it on the developing reel, put the second empty reel on top and closed the tank.
Mixed rapid fixed 1+4 (60 ml +240 ml water) and put it in a bottle.
Mixed stop (label reads 16 ml per liter. i used a teaspoon per 300 ml.
Prepared ilfosol s at 1+14: 20ml developer+ 280 ml water at 20c. the developer will not be reused so i mix it last and leave it in the graduate.
Poured dev in tank and start counting 11 minutes. 4 inversions during the first 10 sec of each minute followed by a tap to get rid of bubbles.
At 10’50 mark started draining dev in sink, poured stop, shake, pour stop back into its bottle
Add the end of the film that had been cut from the roll in the opening of the tank to check fix action; poured fix and same 4 inversions in first 10 seconds of each minute for 2 minutes only. Checked that the piece of film is clear after the first minute.
Poured fix back to bottle, rinse with water. rotate 5 times, replace water, rotate 10 times, replace water, rotate 20 times. Added a drop of wetting agent, and water, final rinse and finally open the tank and breathe.
Ran wet squeegee over the film, and put it to dry in the shower with a cloth pin at the top and at the bottom (as a weight)
Wash and dry everything.
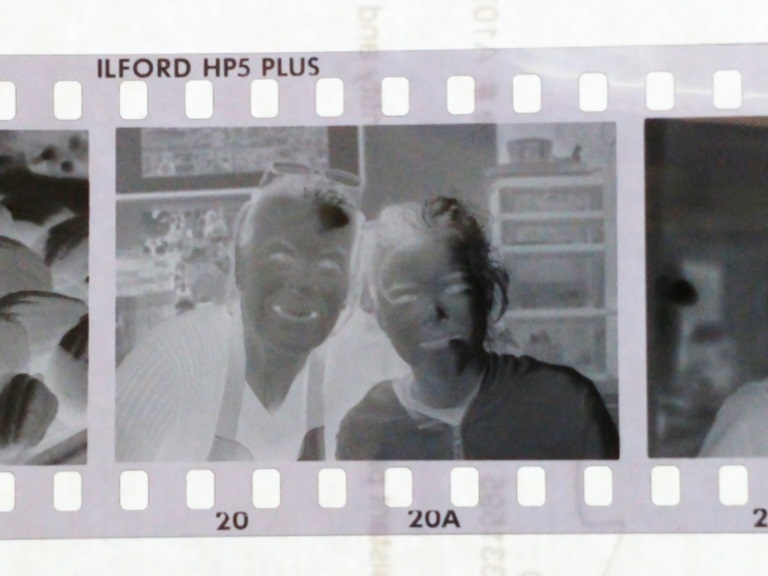
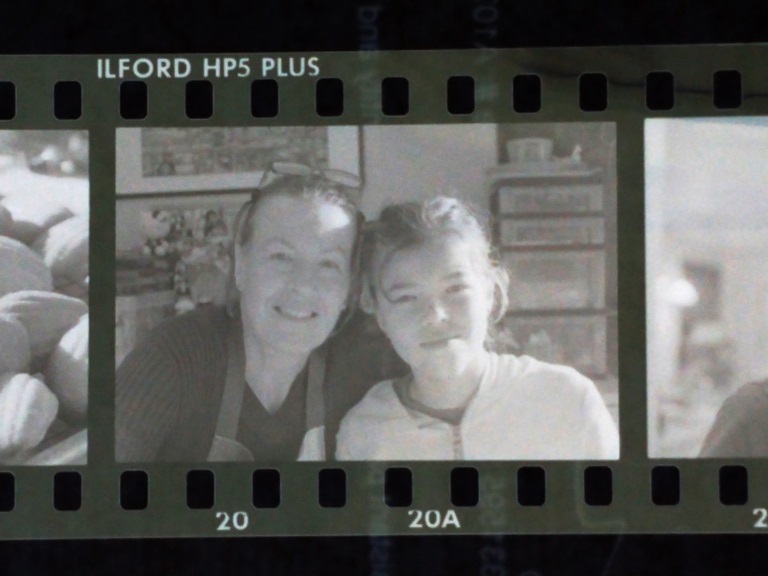
Look at the film from the underside at an angle to see it in positive.
Repeat with the other films. For the other two films, i got more daring and processed them together (so I had to make 600 ml total of stop and fix)
Scanning
The film is now waiting to be scanned. I tried to take a photo of the negative with my cell phone and use a negative filter. the quality is clearly not there. I have ordered an Epson V500 scanner. I bought an olympus film scanner 25 years ago but it uses an SCSI interface and i don’t have the computer i used then nor the SCSI adapters or drivers. The Epson flat bed scanner has a led lit back and scans at 6400 dpi which should work fine.
I will update this post when I have had time to scan the film and will post some pictures.
Conclusing
Getting back to black and white was fun and brought many fond memories.
Taking the photos required a slower process than using a phone or even a DSLR as you only have so many exposures per roll. The F4 can do something like 5.7 frames per second, so the film would last 5 seconds. The FA does not have a motor. I used them in P mode most of the time; I want to try the S (speed) and A (aperture) modes. I also scored a Nikon FM on ebay for $40. The meter does not work but i think i can fix it, and the FM has a mechanical curtain so it can still work with no battery.
Processing the film was as I remembered it. Quiet alone time, when one has to pay attention to not miss any step or miscount the processing time. Seeing the processed film for the first time is still a great feeling.
I am not sure if it will be happy with scanning and printing the photos as a digital file or if I will want to convert the basement into a darkroom (or if my wife will let me.) There is a great lab not far from home that does black and white printing. There is also a camera store that has a darkroom one can rent by the hour. The question is will I have time to do it.
To be continued…